How to Record Tennis Matches with Your Phone (Step-by-Step Guide)
If you’re serious about improving your tennis, recording your matches is one of the fastest ways to level up. Watching yourself play reveals things you’ll never notice in the moment—footwork mistakes, positioning issues, and shot selection patterns.
The good news? You don’t need expensive equipment to get started. You can record high-quality tennis matches using just your phone and a simple setup.
Here’s exactly how to do it.
—
Why You Should Record Your Tennis Matches
Before we get into setup, it’s worth understanding why this matters.
When you watch your own match footage, you can:
* Spot technical flaws in your strokes
* See positioning mistakes between shots
* Analyze patterns (e.g., always missing crosscourt under pressure)
* Track improvement over time
Many competitive players—even at the junior and college level—regularly review match footage to improve faster.
If you’re not doing this yet, you’re essentially guessing what to fix.
—
What You Need to Record Tennis Matches
You only need three things:
1. A Smartphone
Any modern iPhone or Android works well. Most phones today can record in HD or 4K, which is more than enough for analysis.
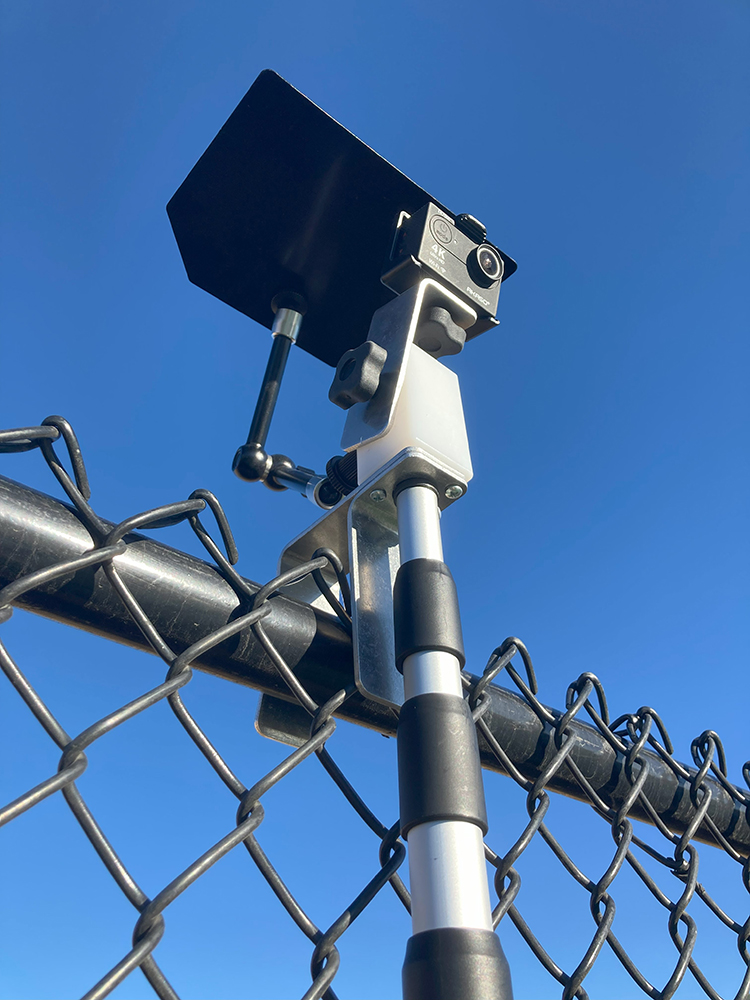
2. A Stable Mount (like the QM-1!)
This is the most important piece.
You need a way to:
* Attach your phone to the fence
* Keep it stable during play (no shaking or slipping)
* Position it at the right height and angle
This is exactly what tools like the QM-1 fence mount are designed for. Instead of dealing with tripods or balancing your phone awkwardly, you can clip it onto the fence and be ready to record in under 30 seconds.
For most players, this is the difference between actually recording matches consistently and never bothering.
3. Optional: Video Analysis App
Apps like SwingVision can:
* Track shots
* Analyze patterns
* Provide AI insights
But even without an app, just watching your footage is extremely valuable.
—
Step-by-Step: How to Record a Tennis Match
Step 1: Choose the Right Court Position
The best placement is:
* Behind the baseline
* Centered on the court
* Attached to the back fence
This gives you a full view of:
* Both players
* Ball trajectory
* Court positioning
Avoid filming from the side—it’s much harder to analyze.
👉 This is where a fence mount makes things much easier, since you can consistently place your camera in the ideal spot without setup hassle.
—
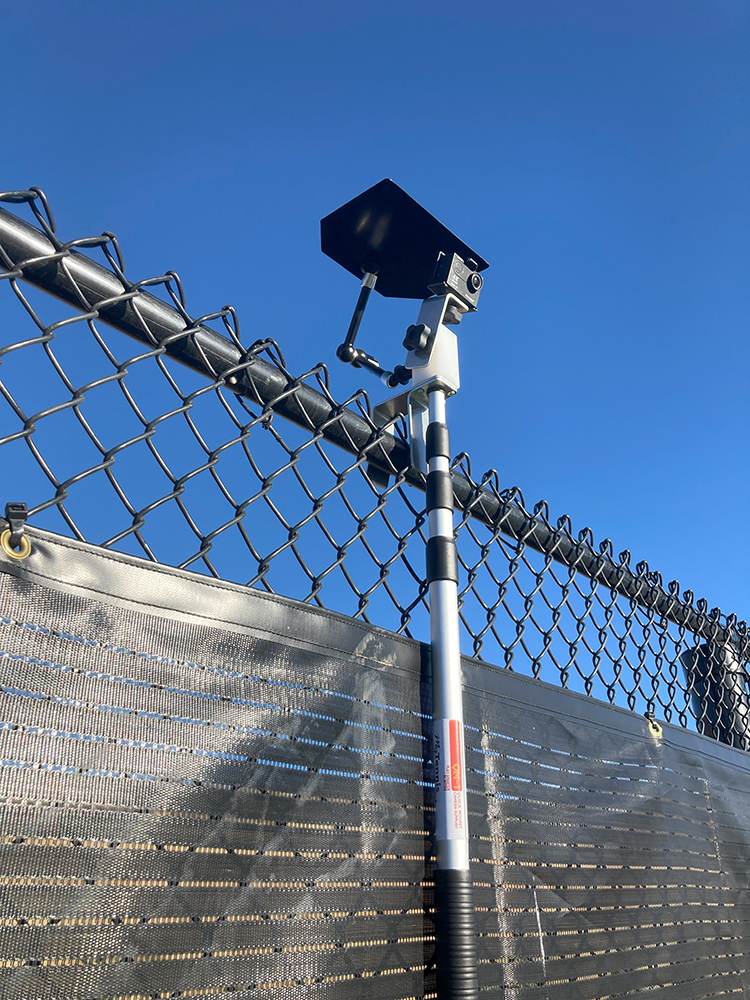
Step 2: Set the Correct Height
Your camera should be:
* About 8–12 feet high (roughly fence height)
Why this matters:
* Too low → you miss depth and positioning, and it’s nearly impossible to set up when windscreens are up
* Too high → players become too small and it’s difficult to track the ball
A higher angle gives a more “broadcast-style” view, which is ideal for analysis.
With a dedicated fence mount, you can quickly adjust height on the fence instead of dealing with tripod limitations.
—
Step 3: Use Landscape Mode
Always record horizontally.
This ensures:
* Full court visibility
* Better playback on larger screens
* Compatibility with analysis tools
—
Step 4: Adjust Zoom and Framing
Before starting:
* Make sure the entire court is visible
* Leave a little space around the edges
You don’t want:
* Players going out of frame
* The ball disappearing during rallies
—
Step 5: Start Recording Before Warm-Up
Start recording early so you:
* Don’t forget
* Capture full match context
* Get extra footage for review
Storage tip:
* 1 hour of HD video ≈ 4–6 GB
Make sure your phone has enough space.
—
Common Mistakes to Avoid
❌ Shaky footage
If your phone moves during play, the video becomes hard to watch. Many of the “hook” type mounts frequently change position on the fence during play.
**Fix:** Use a secure mount attached firmly to the fence like the QM-1. Our mount is designed specifically to stay put even in high wind or when the fence is jostled by a player or ball!
—
❌ Wrong angle
Filming from the side or too low limits what you can analyze.
**Fix:** Always aim for a centered, elevated baseline view.
—
❌ Forgetting to record
This happens more than you’d think.
**Fix:** Make recording part of your pre-match routine.
—
❌ Overcomplicating it
You don’t need expensive cameras or editing.
**Fix:** Start simple—your phone is enough.
—
How to Use Your Match Footage to Improve
Recording is only half the equation. Reviewing correctly is what drives improvement.
When watching your footage, focus on:
1. Patterns, not just highlights
Don’t just watch winners—look for repeated mistakes.
2. Positioning
Are you recovering to the right place after each shot?
3. Shot selection
Are you making smart decisions under pressure?
4. Footwork
Most players underestimate how much this affects their game.
—
How Often Should You Record?
Ideally:
* Record at least 1–2 matches per week
If that’s not realistic:
* Record whenever you can and review consistently
Even occasional recording is far better than none.
—
Final Thoughts
Recording your tennis matches is one of the simplest ways to improve faster without needing more practice time.
You don’t need expensive gear or complicated setups. With just your phone and a QM-1 fence mount, you can start analyzing your game like more advanced players do.
If you want something quick and consistent, using a simple fence mount setup (like the one from My Tennis Tools) removes the biggest barrier and makes recording part of your normal routine.
Once you start reviewing your matches regularly, you’ll wonder how you ever improved without it.


0 Comments