Whether you are a college coach with nine matches to share with your players, or just a player who wants to share a single video, these instructions should help you get started. I really got interested in this after talking to Jun Hernandez at the University of Hawaii at Manoa last year during a tournament. I had always shared either with WeTransfer, which required the player on the other end to download the file – meaning lots of upload/download time. Another way to share was simply to give the sd card to the player or friend. Obviously lots of limitations there!
This method of using Google Drive is simple and quick. You only upload once and then share the link. The video can be then viewed without having to download the file.
Here’s the workflow – obviously tailor certain parts to meet your specific needs:
Workflow for a College Coach
- Set up a Google Drive account. Here’s a link to the instructions: Instructions
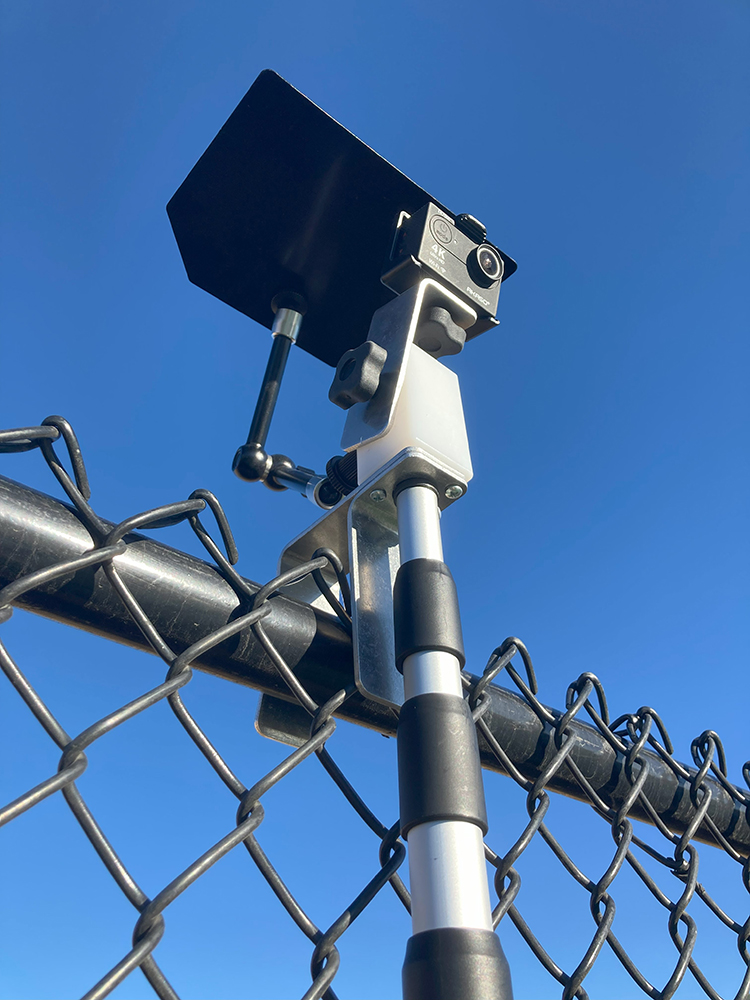
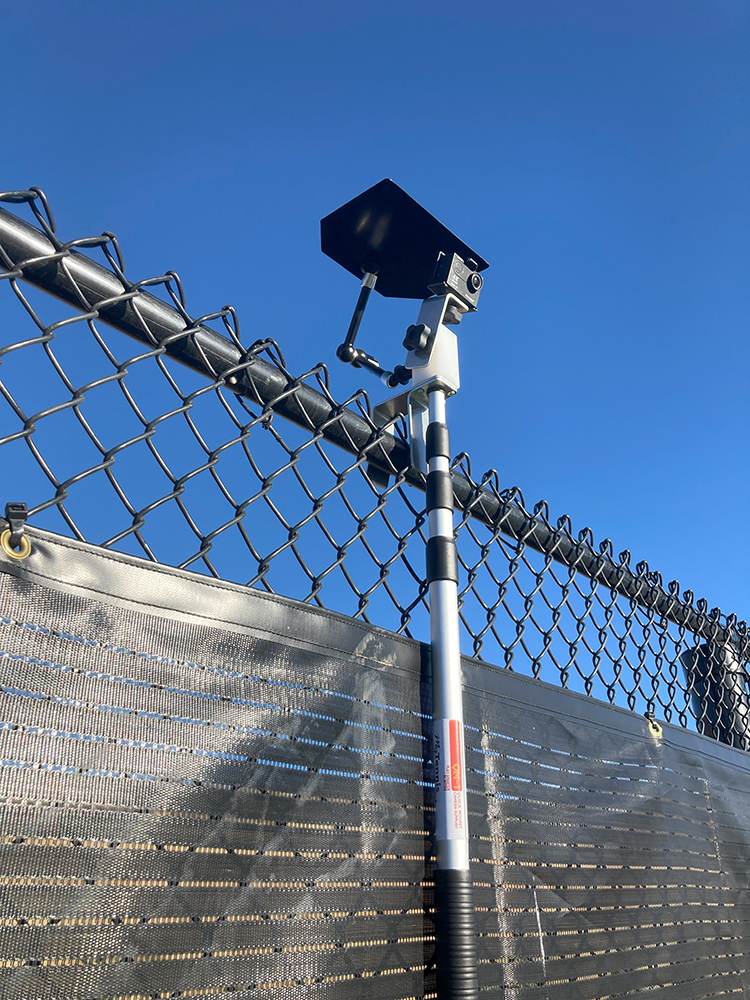
- Number your cameras 1 through six or whatever makes sense to you. If using a Muvi K-2 you can write on the front with a marking pen or Sharpie.
- Mount your cameras on the court, using the external battery if you think it will run over 2 hours. Make sure to support the batteries by hanging them on the bracket knob, taping them to the pole, wrapping the USB cord around the pole, or whatever way you figure out so that the battery is not putting stress on the USB Port.
- Put them in a logical order that you will remember, such as Camera No 1 on court No. 1 , Camera No. 2 on court 2, etc. I
- After the match is over, take the cameras into your office. We suggest that you leave the SD card in the camera until you are ready to download it onto the computer.
- We recommend that you use an option such as Google Drive. Once a match is loaded onto Google Drive, you can choose who can see the video. The person on the other does not have to download the file in order to view the match.
- Create a folder for your match, for example you might create a folder named “Denver Univ vs South Dakota 4-3-19”
- Create folders within that folder for each individual match, i.e. “No. 1 Doubles”, “No. 2 Doubles”, etc.
- Copy the files into the proper folders. It’s possible that one file may contain the end of one match (for example, the doubles match) and the beginning of the next match, usually singles. In this case, you may want to trim the files so that one is named “end of match” and the other might be named Start Match. Alternatively, you could just load the files into each folder, saving the editing time.
- Repeat this for each individual match until all matches are being uploaded. you don’t have to wait for one to finish in order to start the next. All matches can be uploading at the same time.
- If using Google Drive, just right-click on the file you want to share and enter the email address in the pop-up window.
That’s it! Not so hard, was it?


0 Comments